Making Vegetable Stock
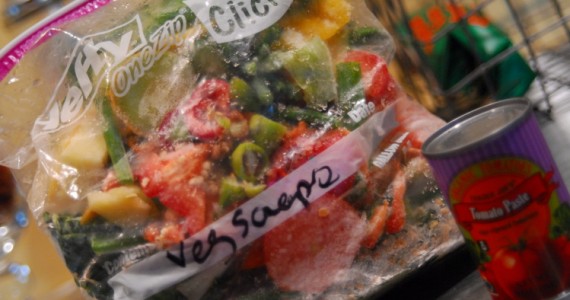
A while back I read a great tip (I believe in a Martha Stewart Living) to save your vegetable scraps in a freezer bag until you had enough to make a vegetable stock from. So I decided to try it, and I’ve been hooked ever since. So I thought I’d share the process with you.
First, you’ll need to collect all of your vegetable scraps together. I keep a gallon-sized freezer bag, and every time I cook, I throw my scraps in. One note – I don’t add onion skins, only pieces of actual onion with the skin removed. When your bag is full and your ready to make the stock, pull it out of the freezer. I also add a tablespoon of tomato paste to my vegetable stock, which I normally also have floating around the freezer. However, this weekend I didn’t, so I opened up a fresh can. I’ll use some to make pizza sauce this week, and freeze the rest.
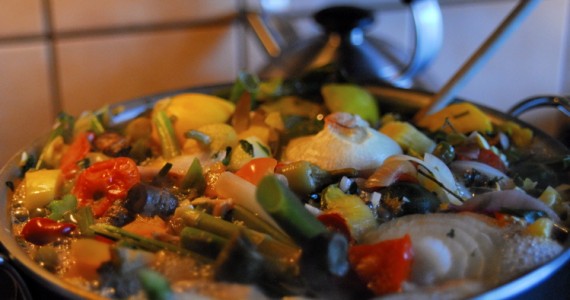
Dump your vegetables into a large soup pot (mine was 6 quarts, but you can use whatever large pot you have on hand), and add water, leaving about 1 inch clear at the top. Add a tablespoon of tomato paste, 2 bay leaves, a palmful of peppercorns, and as much salt as you desire (you can make this low sodium, or with no salt at all, and just add salt later, depending on what you’re making). Bring to a boil, watching carefully to make sure it doesn’t boil over. It’ll take a while to get going if your vegetables were still frozen.
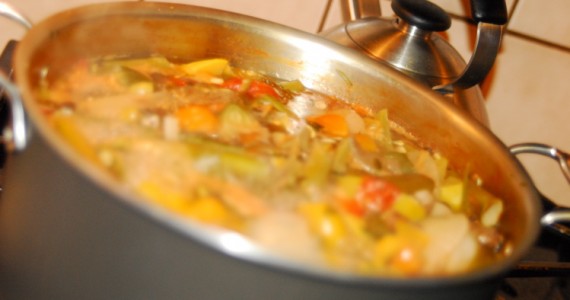
After about 30 minutes, your water will reduce. At this point, I usually add enough water to get back to the amount I started with, and keep boiling for another 30 minutes or so.
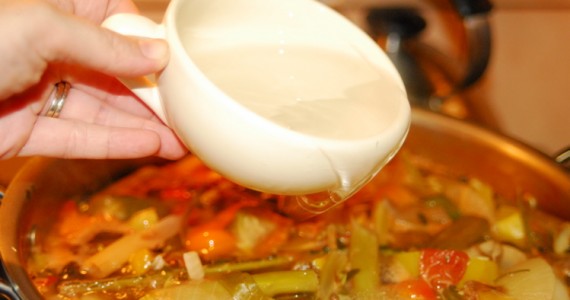
After a while, you’ll notice the vegetables go from a nice, bright color to sort of bland looking, and your broth will become a rich, brown color. At this point, your vegetable stock is ready. Turn off the heat, and let your stock cool (do as I say, and not as I do).
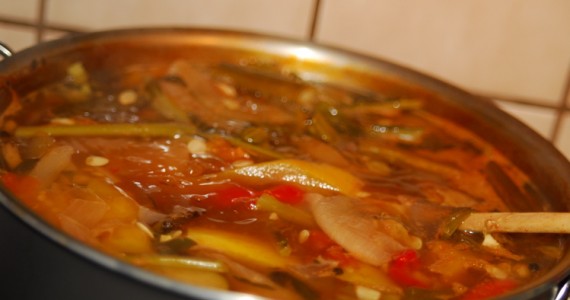
You’ll want to strain the stock. You can either use a simple strainer, like I did here, or you can line your strainer with cheese cloth to get a clearer broth. The most important thing is to make sure you pour the broth away from you. I once poured toward me (and hadn’t let the broth cool), and when the vegetables slid out and splattered into the strainer, I ended up with boiling stock all over me. Needless to say, don’t try this at home. It really doesn’t feel (or look) good.
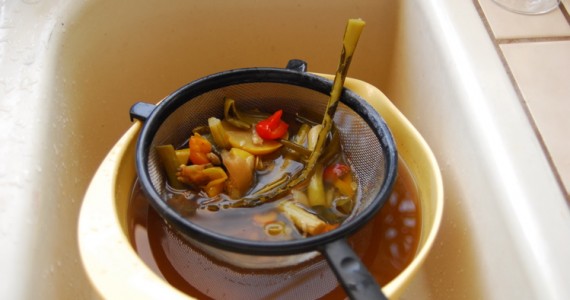
Once you’ve strained your vegetable stock, portion it into various containers for storing. I like using Gladware containers in various sizes, ranging from 1/2 cup (for use in pastas or deglazing pans) all the way to 4 cups for massive pots of soup. If you plan on freezing your stock like I do, make sure you leave some room in the container so the liquid can expand.
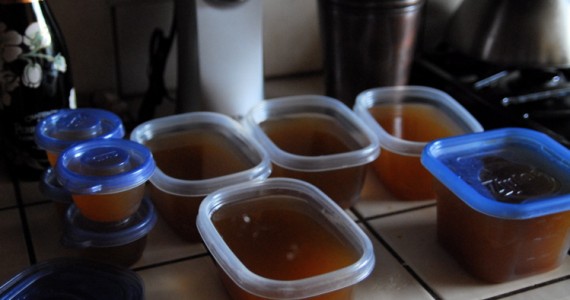
And that’s that! This batch yielded around 18 cups of vegetable stock that are now just sitting in my freezer waiting to be used.
You can also use this method to make other stocks, such as chicken or seafood. When I buy whole chickens and cut them up, I’ll keep the pieces such as the backbone, and add that with some of the vegetables to make a chicken stock. For seafood, I’ll keep shrimp shells, or any other parts, for use.
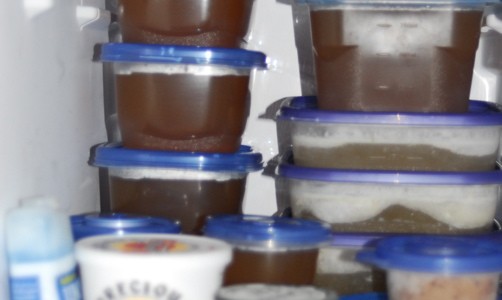
“But, Madd Hatter,” you say, “whatever will I do with all of this stock??”
That, my dear, is for another post. Quite a few more posts, in fact, as I have some ideas for you that range from simple and quick to more involved but worth it. They will be coming shortly!
great idea! will have to share with the wife